Installing NetBSD on a x86 system with UEFI
Modern x86 machines have UEFI instead of BIOS firmware. The boot procedure is slightly different, and the installation needs to take care of this. The boot process for pre-UEFI systems is usually called "MBR".
Starting with NetBSD 9.0 the installer should be able to handle this automatically. Earlier NetBSD versions were able to boot with this setup, but needed a bit of manual help to get everything installed. The main part of this page assumes a version of 9 or newer.
NetBSD/amd64 provides two installation images:
NetBSD-9.3_STABLE-amd64-install.img.gz and
NetBSD-9.3_STABLE-amd64-bios-install.img.gz.
The former should boot either via UEFI or MBR, and the latter is MBR
only, provided for use when the combined image is problematic.
If you look at the images directory of your NetBSD release you will find
these images, intended to be written to USB sticks and booted via UEFI or BIOS. For machines with a DVD drive, there are NetBSD-XXX-i386.iso and NetBSD-XXX-amd64.iso, intended to be burned to a CD or DVD.
Preparing the USB medium on NetBSD works like this:
    # gunzip NetBSD-9.0-amd64-install.img.gz
    # sudo dd if=NetBSD-9.0-amd64-install.img of=/dev/rsd0d bs=1m conv=sync
If you do not (yet) have a NetBSD machine installed, you can use Rawrite32 on a Windows machine.
Installing NetBSD 9.0 or newer on a x86 system with UEFI
After booting from the USB stick there is nothing special you need to do to get UEFI booting set up properly. The installer will recognize the way you booted your install medium (either BIOS or UEFI) and prepare the installation on your hard disk for the same boot method.
NB: If for some reason you have booted via BIOS and want to install UEFI, you will have to do it manually; see the NetBSD 8 section. But try to boot the USB stick the same way you want the installation. Typically, this will just work. Beware that some systems may have confusing UEFI/BIOS screens that imply that you need to enable legacy mode to boot from USB, but typically UEFI from USB will work straightforwardly. Disabling "Secure Boot" is necessary, and typically that is all that is needed.
First you need to select the target disk. The installation USB stick will usually show up as sd0.
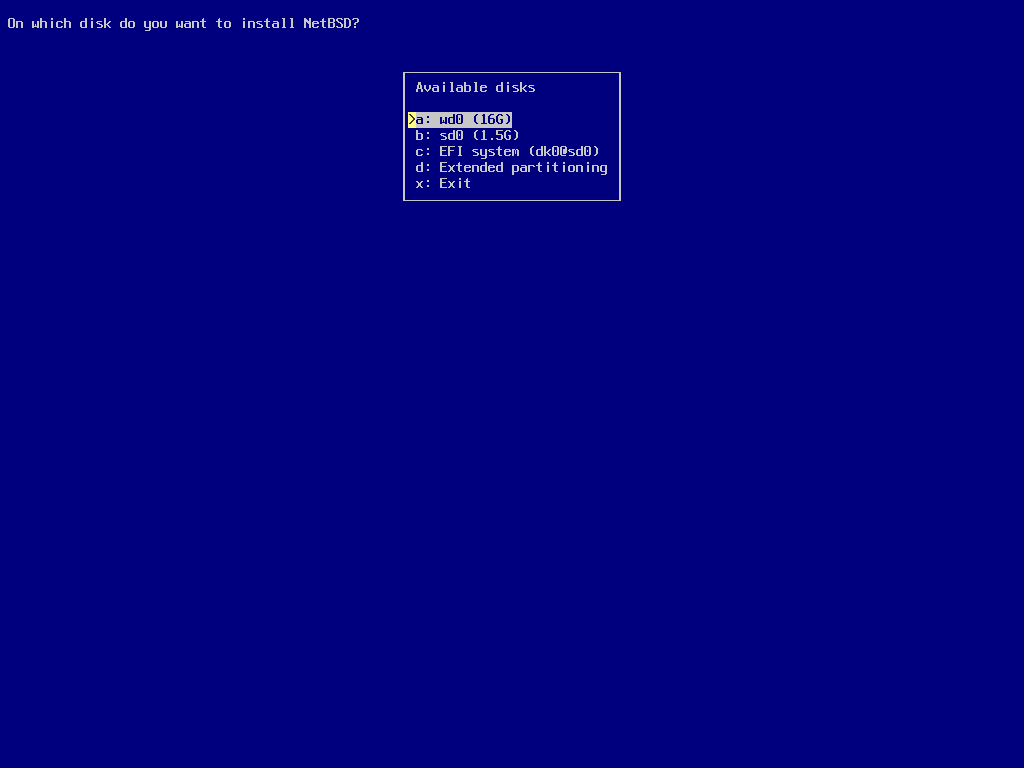
Here we have an (artificially tiny) harddisk wd0 and select that as install target. In this setup the disk had been completely wiped before, so now we can choose what type of partitioning scheme we want to use. GPT is the more universal method, and also allows using disks of arbitrary size.
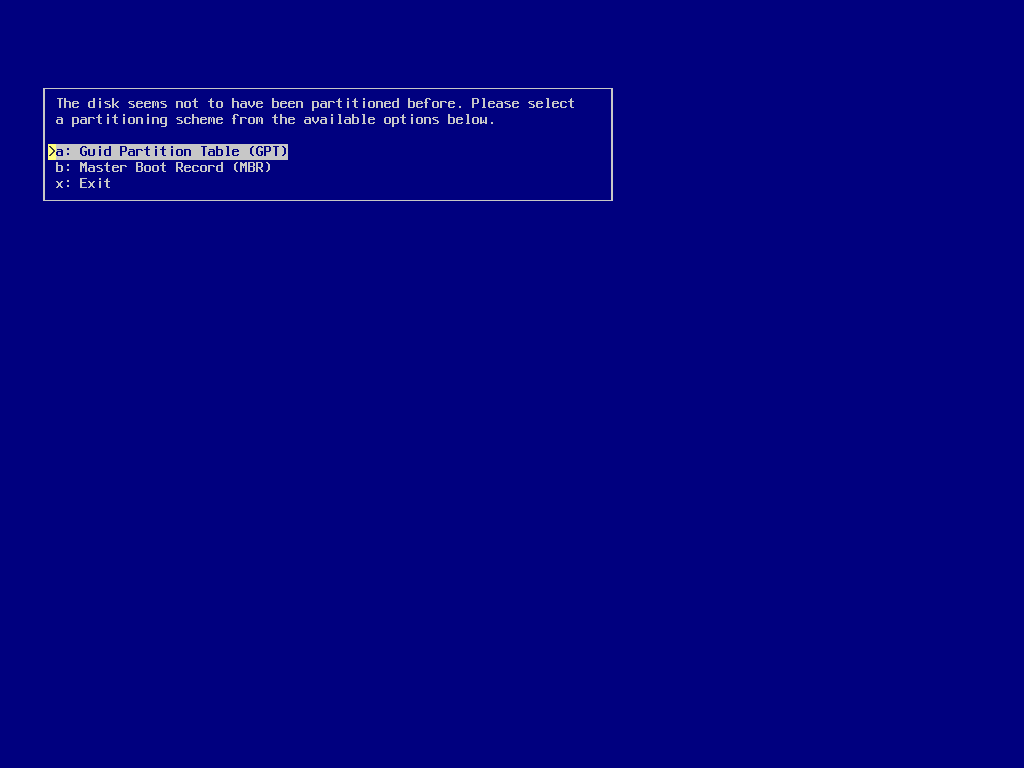
After the partitioning scheme selection (which will be skipped if the installer already finds valid partitions on your disk) you are presented size suggestions for the to-be-created NetBSD partitions.
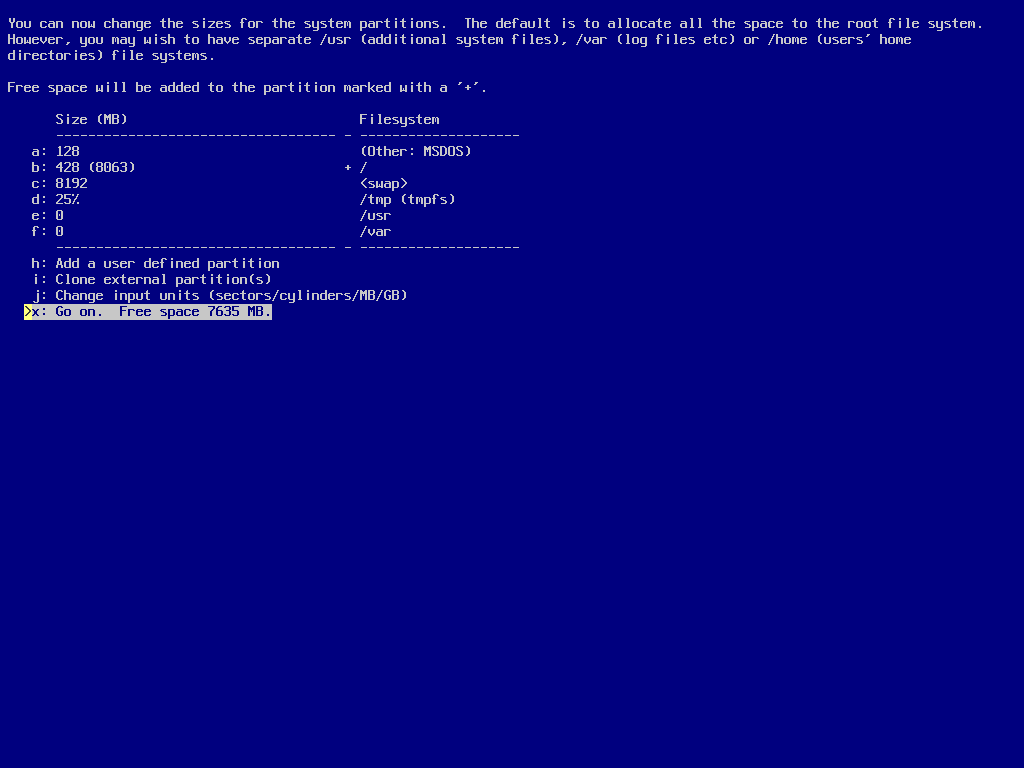
Details depend on the size of the target disk and available memory (swap is also used to store kernel crash dumps, so with more installed RAM the installer will suggest bigger swap partitions). Note the MS-DOS partition on the above screenshot, it is used by UEFI instead of bootblocks to load the bootloader.
Just continue the regular installation process from here - it should automatically create a UEFI bootable hard disk.
Installing NetBSD 8 on a x86 system with UEFI
Unfortunately the installer on the netbsd-8 branch does not fully support an UEFI setup. Later systems do support, but won't install UEFI if booted via MBR.
The tutorial below shows (only for NetBSD 8.x and cross-method!) how to semi-manually do it. For simplicity we assume that you have booted the UEFI install image from a USB stick and want to install NetBSD onto the whole disk in the machine.
Getting out of the Installer
The install image will offer a menu item to exit the install system. Using that will drop you to a shell prompt.
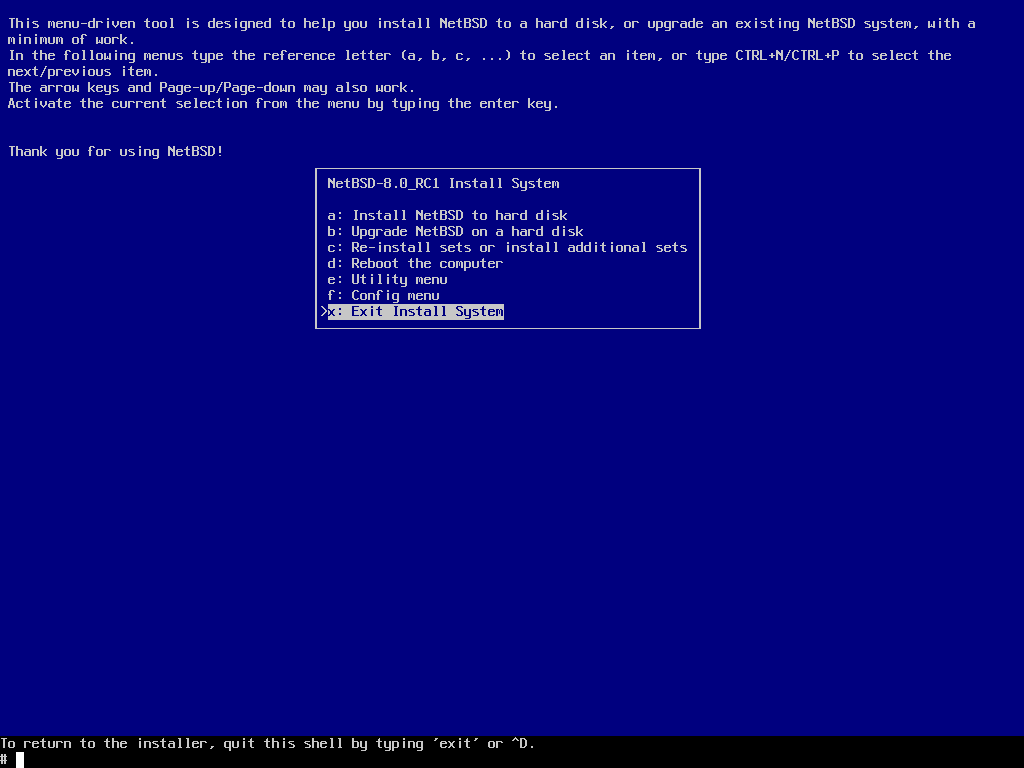
Identifying Disks
At the shell prompt let us find out what disks we have and which one we want to install to. We can find out what disk devices have been recognized by the kernel via the sysctl program:
    # sysctl hw.disknames
    hw.disknames = ld0 wd0 cd0 sd0 dk0 dk1
This output is from a typical desktop machine. Depending on details a SSD will show up as ld (NVME device) or wd (SATA device). Hard disks usually show up as wd as well. Other disks may show up as ld or sd (SCSI, SAN, RAID, ...). USB sticks typically show up as sd devices.
So here we have a SSD as ld0, a hard disk as wd0, a blueray drive as cd0, and the install image on USB stick as sd0.
The dk devices are logical wedges (partitions) on the hardware devices, and this early after boot we usually see them in order, that is: dk0 and dk1 are partitions on the installer USB stick sd0. We can verify that by asking for a list of wedges on sd0:
    # dkctl sd0 listwedges
    /dev/rsd0: 2 wedges:
    dk0: EFI system, 262144 blocks at 2048, type: msdos
    dk1: 2dfc926e-42bd-43fb-9bb5-b227c2c3fc99, 2560000 blocks at 264192, type: ffs
Let us look at another example, this time from a typical notebook:
    # sysctl hw.disknames
    hw.disknames = wd0 dk0 dk1 dk2 dk3 sd0 dk4 dk5
Here the internal SSD is showing up as wd0, and has Windows pre-installed (dk0 .. dk3). The install image USB stick again shows up as sd0 with two wedges dk4 and dk5.
Just to be sure let us check which device the installer booted from:
    # dmesg | fgrep "root on"
    root on dk5
and verify this is indeed on sd0:
    # dkctl sd0 listwedges
    /dev/rsd0: 2 wedges:
    dk4: EFI system, 262144 blocks at 2048, type: msdos
    dk5: 2dfc926e-42bd-43fb-9bb5-b227c2c3fc99, 2560000 blocks at 264192, type: ffs
Now for fun check the internal ssd:
    # dkctl wd0 listwedges
    /dev/rwd0: 4 wedges:
    dk0: EFI system partition, 204800 blocks at 2048, type: msdos
    dk1: Microsoft reserved partition, 32768 blocks at 206848, type:
    dk2: Basic data partition, 409602048 blocks at 239616, type:
    dk3: 2d02bc12-8433-4e41-ac12-f89167b1a93e, 1024000 blocks at 499093504, type:
NOTE: if you keep following this tutorial on a machine like the above, the windows installation will be destroyed and all data lost!
You can check more details about individual disks by extracting parts of the kernel output from the dmesg output. Assuming we want to install onto disk wd0, let us check for it:
    # dmesg | fgrep wd0
    wd0 at atabus4 drive 0
    wd0: <WDC WD4002FFWX-68TZ4N0>
    wd0: drive supports 16-sector PIO transfers, LBA48 addressing
    wd0: 3726 GB, 7752021 cyl, 16 head, 63 sec, 512 bytes/sect x 7814037168 sectors
    wd0: drive supports PIO mode 4, DMA mode 2, Ultra-DMA moded 6 (Ultra/133)
    wd0(ahcisata1:0:0): using PIO mode 4, DMA mode 2, Ultra-DMA mode 6 (Ultra/133) (using DMA)
NOTE for this tutorial screenshots have been created using VirtualBox. The following example uses a strange tiny 30 GB (virtual) hard disk. Also on VirtualBox it is quite tricky (or impossible?) to actually boot from a USB device - instead the USB install image was converted to a virtual disk image, and the machine booted from that. This makes the install image show up as wd1.
Here are the target disk details:

Size Calculations
So now that we have identified the disk and got the details, we need to plan our disk layout.
The UEFI partition should be FAT32. It should be aligned to 1 MB (2048 sectors) and thus start at sector 2048. There may or may not be a requirement that it be early in the disk, but that's where every other system puts it so just do it that way unless you are trying to stress the system fo ind out what works. The size should be at least 128 MiB (12810241024 bytes), and can be up to around 550 MiB. A native 4K disk needs 260 MiB. This is because FAT32 minimum size is 65527 sectors. The point is that the machine's firmware has to read it, so you want to make that smooth.
We will need two partitions, one for UEFI to boot from, and the NetBSD root disk partition. Depending on planned use for the machine, we also will want a swap partition. This should not be smaller than the machine's RAM size, so in case of a kernel panic a crash dump can be saved and recovered on next reboot. For this example let us calculate with 8 GB RAM and no special needs for more swap.
So we have a 30 GB disk, we subtract 8 GB of swap and a bit of space for the UEFI boot partition. That leaves us with (rounded down) 21 GB of space for the main NetBSD partition.
Partitioning and Formatting the Disk
NOTE we are about to fully destroy all contents on this disk! Please stop if you are unsure or have no proper backup!
Just to make sure, we kill any old partition data on the disk:
# gpt destroy wd0
Next we create a new partition table and add the partitions with the sizes calculated above (the EFI partition usually is quite small):
    # gpt create wd0
    # gpt add -a 2m -l "EFI system" -t efi -s 128m wd0
    # gpt add -a 2m -l NetBSD -t ffs -s 21g wd0
    # gpt add -a 2m -l swap -t swap wd0
Then we check the result:
# gpt show wd0
Note that the kernel messages between the commands also show us the wedge names (dk0...dk4) of the individual partitions we have just created. The mapping between partitions on a disk and wedge (dk) devices is not fixed, you can see below that managing partitions removes all old wedge devices and adds new ones.
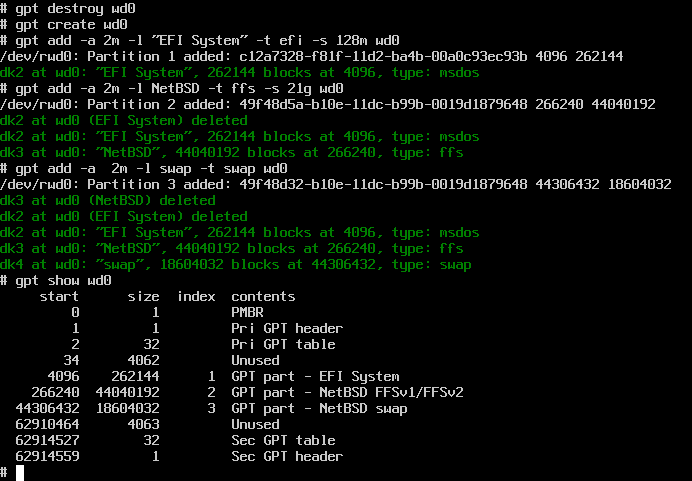
Just to make double sure, let us list the wedges on wd0 explicitly:
# dkctl wd0 listwedges
Now we need to format the EFI partition as type msdos, and the NetBSD partition as type ffs. Also we create a directory "EFI/boot" on the EFI partition and copy the bootloaders there.
The commands for this are:
    # newfs_msdos /dev/rdk2
    # mount -t msdos /dev/dk2 /mnt
    # mkdir -p /mnt/EFI/boot
    # cp /usr/mdec/*.efi /mnt/EFI/boot
    # umount /mnt
    # newfs -O 2 dk3
and it looks like this:

Main Installation
Now we are mostly done. We can leave the shell and return to the installer (sysinst). Type Ctrl-D or use the "exit" command.
Back in sysinst we choose "Install NetBSD to hard disk":
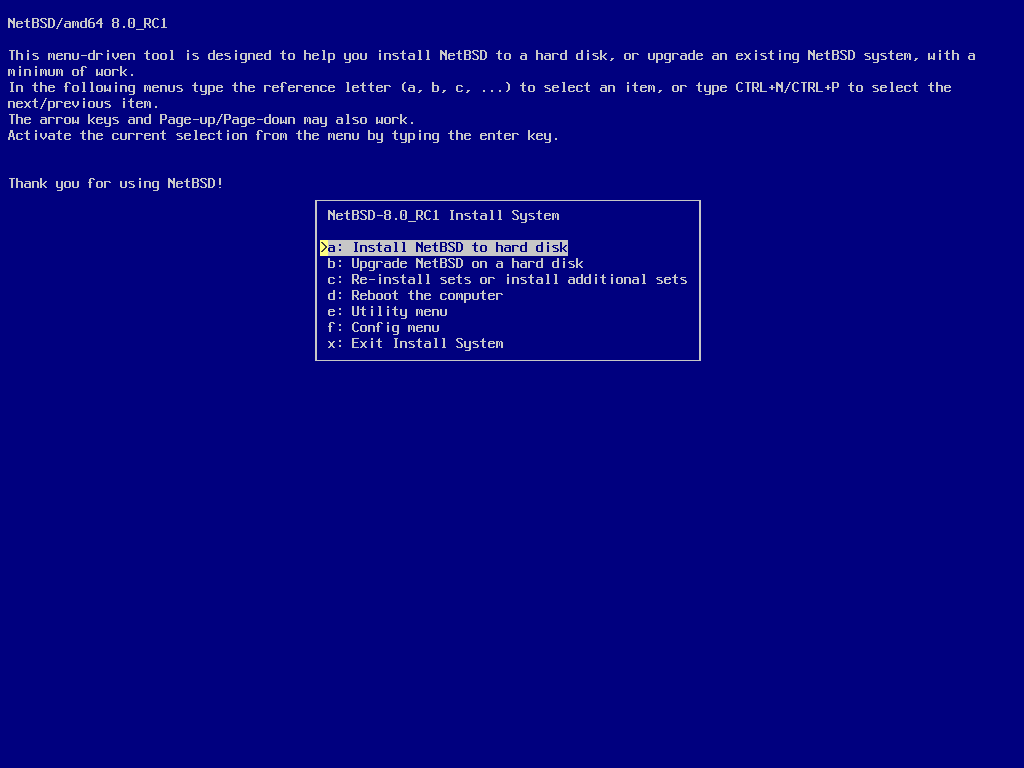
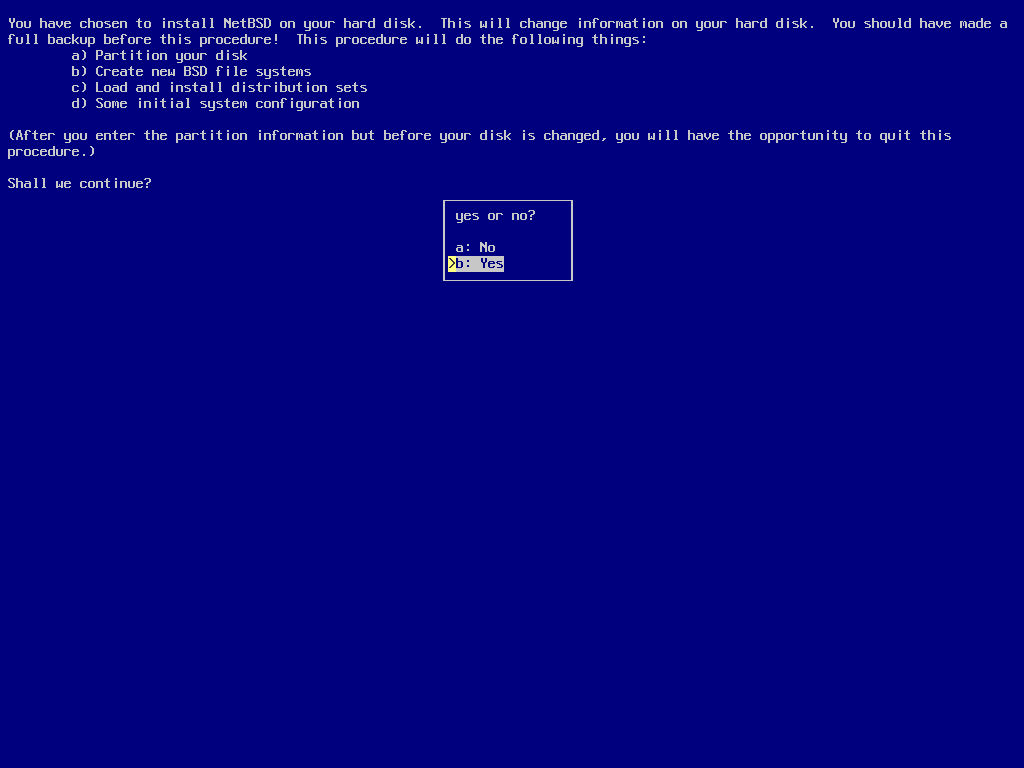
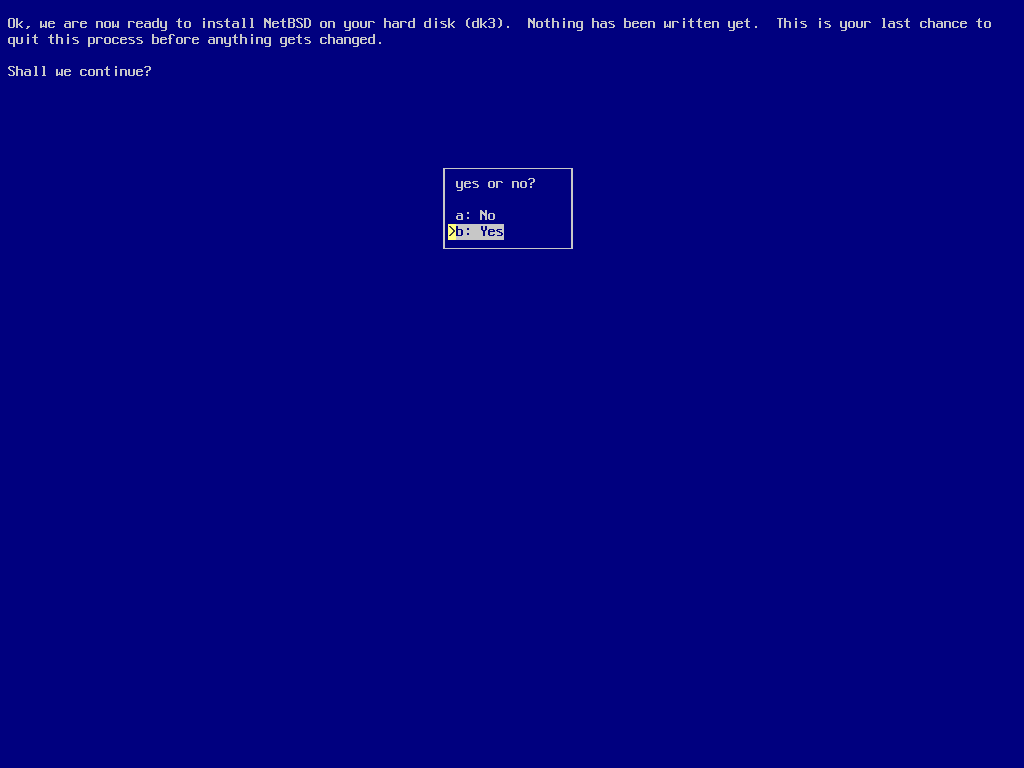
The next steps are mostly the same as for other sysinst installations. We have to confirm (but actually all harm is already done as we manually repartitioned the disk above):
Since we already prepared everything, we can select a preformatted wedge (which we did name "NetBSD" above):
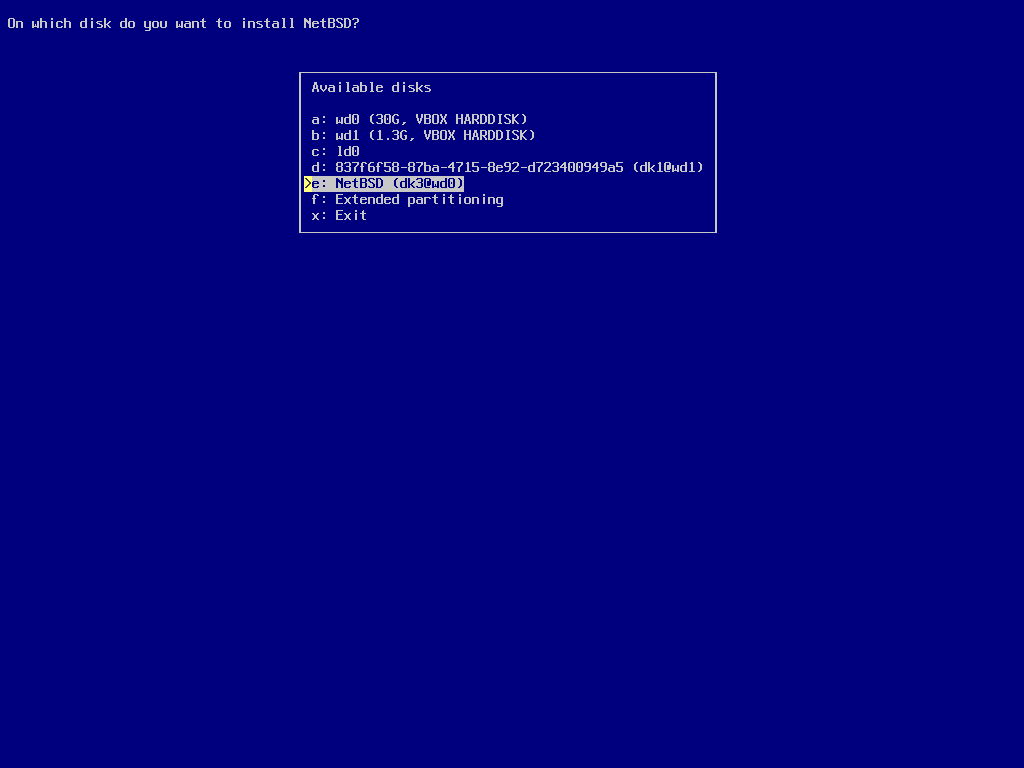
NOTE if you paid close attention, you will notice a bug in this screenshot. The dk1@wd1 wedge (right above the real target) would be dk1@sd0 on real hardware. That is: this is the install image root partition, which we currently have mounted. Sysinst should not offer this wedge here - a bug that might be fixed before the actual 8.0 release (but not in time for this tutorial).
Not quite usefull in this semi-manual setup, but sysinst asks again for confirmation:
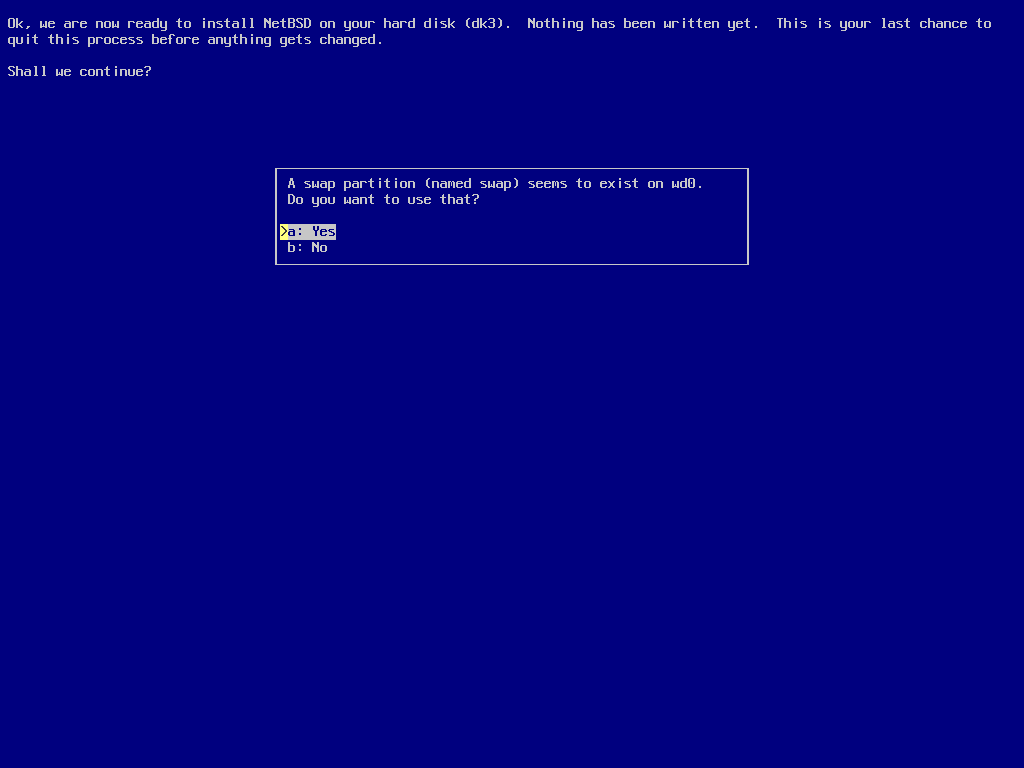
Sysinst does not know about the EFI boot partition, but it recognizes there is a swap partition on the same disk as the target partition we have selected. It correctly assumes that we will want to use this for swapping and offers to add it to the installed systems swap configuration:
Now just follow the remaining sysinst steps - they are the same as all other x86 NetBSD installations.
