
NetBSD 10 or newer support extended attributes (EA) and access controll lists (ACLs) on FFS file systems.
Enabling or disabling EA/ACLs during setup
During setup, this support is enabled by default on -current or NetBSD 11 and newer (once that exists), for NetBSD 10 you need to manually tell the installer to create the file system this way:
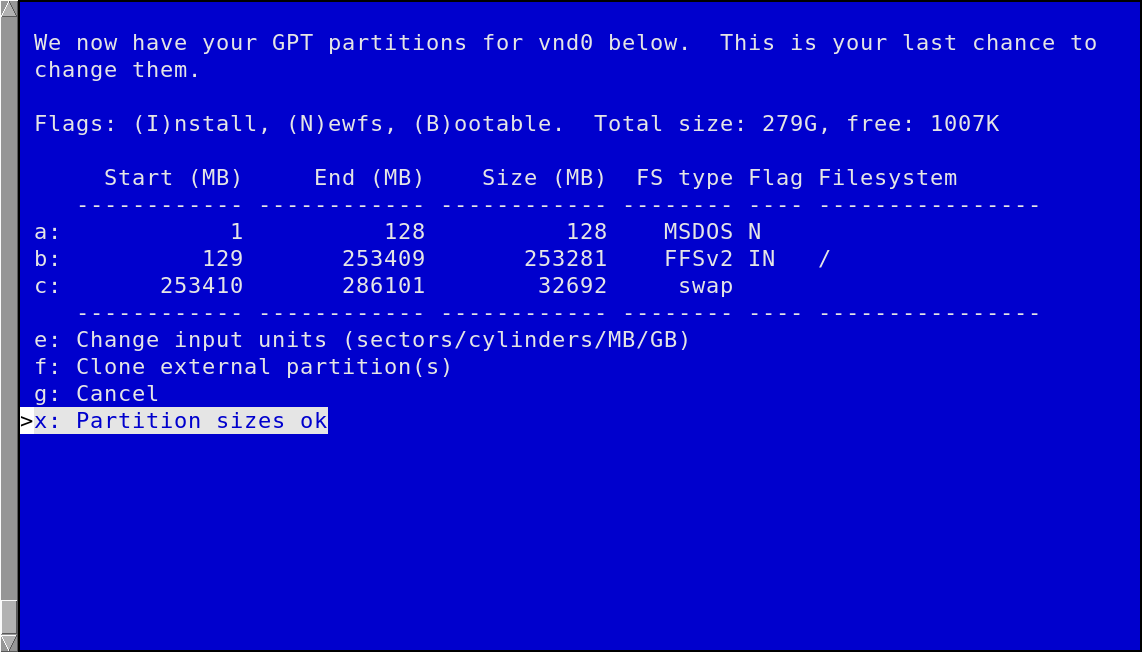
When you are at the partitioning step in Sysinst, you will see a display like this:
The "FFSv2" type means there will be no extended attributes (or ACLs) supported. If you want to change set, select that line:

and select the type to change it:
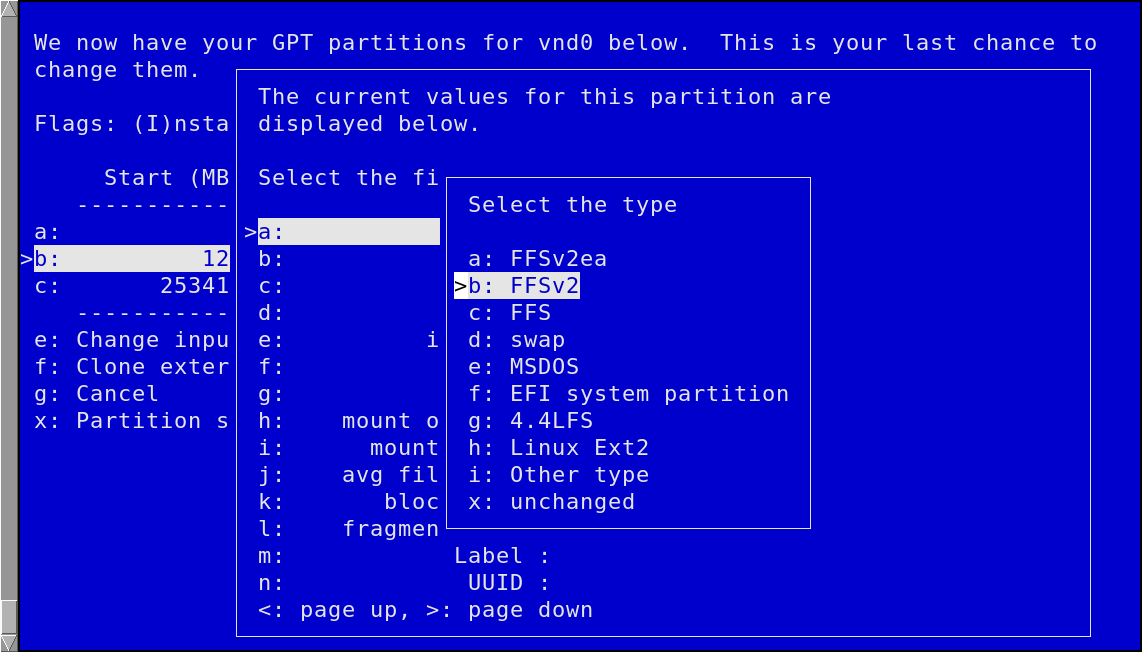
Change it to "FFSv2ea" if you want to enable EAs.
Checking whether EAs are enabled
To check if EAs are enabled on for example your root file system, use this command:
# dumpfs / | head
file system: /dev/rdk6
format  FFSv2
endian  little-endian
location 65536  (-b 128)
magic   19540119    time    Fri Dec 16 18:42:47 2022
superblock location 65536   id  [ 5da1ec62 569ee376 ]
cylgrp  dynamic inodes  FFSv2   sblock  FFSv2   fslevel 5
nbfree  9145447 ndir    571441  nifree  24966867    nffree  377570
ncg 658 size    125001216   blocks  123064037
bsize   32768   shift   15  mask    0xffff8000
This says: format FFSv2 meaning: EAs are disabled.
Example output (from different disk) when EAs are enabled looks like this:
# dumpfs /disk |head
file system: /dev/rdk6
format  FFSv2ea
endian  little-endian
location 65536  (-b 128)
magic   19012038    time    Fri Dec 16 18:44:02 2022
superblock location 65536   id  [ 5564421e 41f80c3d ]
cylgrp  dynamic inodes  FFSv2   sblock  FFSv2   fslevel 5
nbfree  66438403    ndir    181661  nifree  178822752   nffree  207710
ncg 3853    size    732042349   blocks  720699077
bsize   32768   shift   15  mask    0xffff8000
Here it says: format FFSv2ea meaning: EAs are enabled.
Enabling or disabling EAs after installation
You typically need to boot to single user mode (the file system you want to convert should not be mounted).
The change itself is simple:
- To enable EAs where they are not, use:
# fsck_ffs -c ea /dev/rdk10
** /dev/rdk10
** File system is already clean
** Last Mounted on /targetroot
** Phase 1 - Check Blocks and Sizes
** Phase 2 - Check Pathnames
** Phase 3 - Check Connectivity
** Phase 4 - Check Reference Counts
** Phase 5 - Check Cyl groups
10 files, 10 used, 1016045 free (53 frags, 126999 blocks, 0.0% fragmentation)
ENABLING EXTATTR SUPPORT

***** FILE SYSTEM WAS MODIFIED *****
- To disable EAs where they are enabled, use:
# fsck_ffs -c no-ea /dev/rdk10
** /dev/rdk10
** File system is already clean
** Last Mounted on /targetroot
** Phase 1 - Check Blocks and Sizes
** Phase 2 - Check Pathnames
** Phase 3 - Check Connectivity
** Phase 4 - Check Reference Counts
** Phase 5 - Check Cyl groups
10 files, 10 used, 1016045 free (53 frags, 126999 blocks, 0.0% fragmentation)
DISABLING EXTATTR SUPPORT

***** FILE SYSTEM WAS MODIFIED *****
If the file system you want to change is in your /etc/fstab, you can use the path of the mount point instead of the raw disk device (/dev/rdk10 in above example), like we did for the dumpfs command when checking for the current state of EAs.
Compatibility issues
See the history section of UFS2ea for more details why this is all so complicated.
Here is the short summary of the net effects:
FFSv2ea file systems are not compatible with NetBSD 9 or older releases
FFSv2ea file systems are not compatible with any other operating system
FFSv2 file systems are compatible with older NetBSD releases (back to NetBSD 2.0)
FFSv2 file systems may be used in read-only mode on other BSDs and other operating systems, but they are not completely compatible